Showing posts with label creative life. Show all posts

Monday, August 1, 2011

Nik-in-the-Box

I have long believed that simple toys are the best toys. Toys with little detail, and no batteries, leave the most room for the child to invent, and the play they inspire is open-ended, engaging the mind and expanding the imagination. And what could be simpler than a cardboard box?

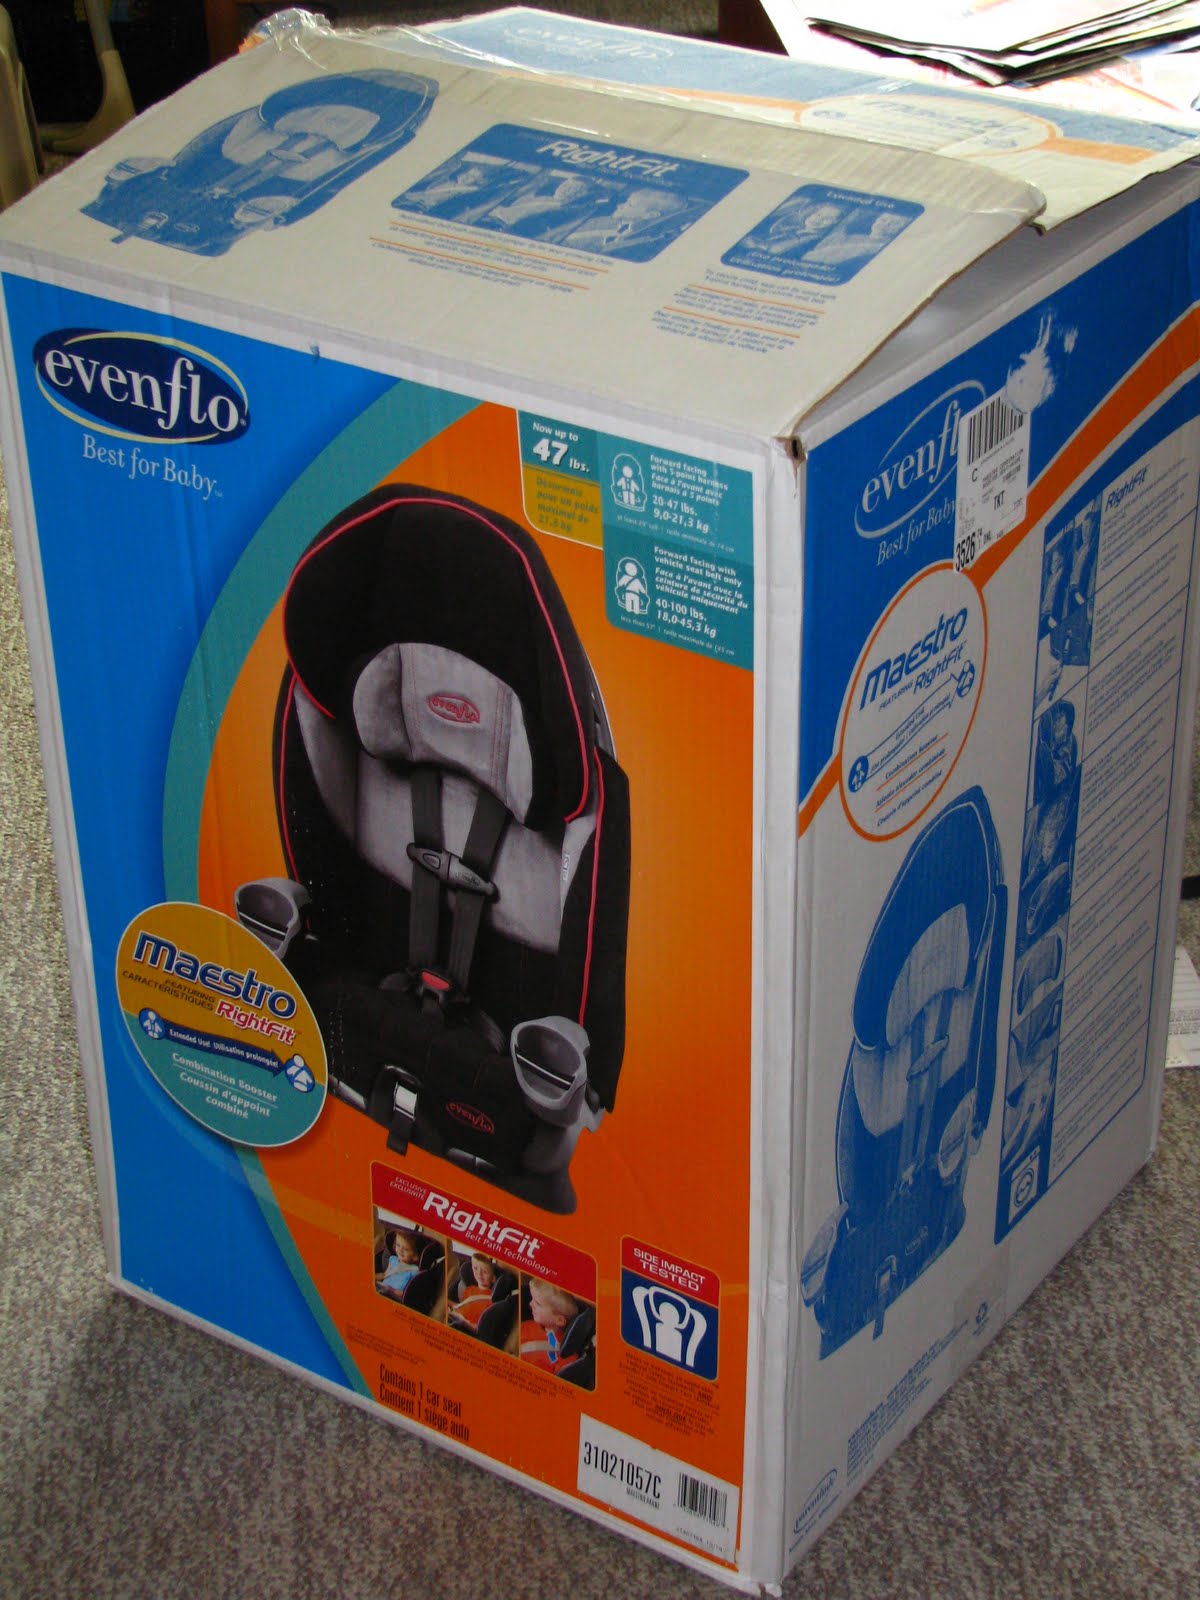
In preparation for an upcoming roadtrip, we recently bought our quickly-growing Nik a new car seat, and he fell in love with the box. When he insisting on moving his pillow and blanket into the box that first night, to sleep like a little homeless person, I thought, "Here is the ultimate thrifty summer project." Even though our most recent painting project likely took a year off of my life, I decided to break out the paints again, and Nik and I spent a fantastic morning transforming his box into the perfect portable summer hideaway.

Again, like previous tutorials, this is something you could probably figure out all on your lonesome, but maybe seeing it will inspire your own project, for your own thrifty fun.

Adult prep:
Start with a box. Any large box will do, but white boxes are nice. This was ours.
Drag said box onto some sort of paint safe surface. You could do this project outside, if it weren't too windy or wet. We did ours in the kitchen, on top of flyers, taped to the floor with masking tape.
Next step is to prep the box for decoration. My box had a colour glossy print of the car seat on one side that I peeled off. The other sides were printed with orange and blue ink.

This is gesso. I bought it at Hobby Lobby when I was going through an art journalling/altered book phase, inspired by Kelly Rae Roberts and Sabrina Ward Harrison. It is basically a primer that you can apply to any surface to ready it for paint. Think of it as white wash for your box. It dries quickly.

Voila! A mostly white box.

Take a craft knife and cut some windows into your box, prior to painting. You can do any shape, or even cut so that the windows have shutters that open. I used some bowls and plates to mark circles onto my box with a marker, and then cut them out.


Now, you need to gather some paints and whatever you will be using to apply the paints to your box. We had an assortment of brushes, and a large collection of foam stamps that I have amassed for card making.


You are now ready to unleash your little artist! Mine was playing computer while I was getting everything out, and was surprised and happy to walk into the kitchen and find an inviting art project waiting for him.
Decked out in a painting t-shirt of Daddy's, he went to town on the box.

Painting is very serious work.

Keep painting until the box is covered, or your child gets bored, or your other child gets tired of sitting in the bouncy seat and just wants to get nursed already, darn it. Or all three. We finished off with a couple of handprints on the 'floor' of the box, and then it was into the bath for the three year old, while I cleaned up the kitchen. The box was banished for a few hours until it was completely dry, but since coming back not a day has passed that it has been ignored.


It has been climbed in, filled up, turned over, peeked through and shown off. It has been a house, a hiding spot, a rocket ship. A box + paint + a morning's worth of time = thrifty goodness of childhood.


If you love the idea of boxes as open ended play, you'll love this book, by Antoinette Portis.


This post is participating in ON{the laundry}LINE's thrifty summertime link party. Click on through for more fun!

Friday, June 17, 2011

Finger paint is the devil

Before attempting this project, do yourself a favour, and run your child a bath. You will need it. Finger paint is the devil. Move the curtains out of reach, strip off as much clothing from your child as you are comfortable with, and put newspaper on the floor. If your child is anything like my child, this still will not help much, but at least you will feel like you tried.

Ah, Father's Day. Time to appreciate dads with cute little crafty projects. Time to put into action ideas that sound quaint and easy. Time to add a few more gray hairs.

This project is fun (for your child), doesn't require many materials, and can be done in a short amount of time. It turns out a cute gift for a dad or grandpa. It also uses finger paint. Finger paint is the devil. See above.

But if you think, nah, surely this women is just inept, I could totally handle my 3 year old when both of his/her hands are full of paint, then read on. But don't say I didn't warn you.

For this project you will need: a canvas, some letter stickers, a permanent marker and finger paints.
Isn't it lovely how clean everything is right now?

Use your letter stickers to put a message on your canvas. These will act as a 'mask' for your message, so because it really doesn't matter what colour the stickers are, choose based on letter style. A thick font works best. Burnish them with your fingernail to get them as stuck to the canvas as you can. Stickers do not stick as well to canvas as they do to paper, and you do not want them coming up mid-project.

After the stickers are adhered, set your little artist loose on the canvas. Well, not exactly loose. If you want the painting to have different colours, instead of turning into one mix-y black and greenish mess, you may need to provide some guidance. Even if that doesn't matter to you, there may still need to be direction given to keep the paint on the canvas, and not on, say, one's chest...

But to each their own.

I have no photo of this step. Just picture the Tasmanian Devil with blue hands. That is pretty much what it looked like at my house.

And then, ta da! This is what you end up with.

After you have deposited your child in the tub, and while the paint is still wet, remove the stickers to reveal your message. Once the paint is dry, you can use the permanent marker to add your child's name and the year.

Cool, right? Almost makes you want to try it?

Don't say I didn't warn you.

Sunday, March 20, 2011

Simple scrappy circles

What do you do on a rainy and gray Sunday morning when your baby is fussy and your 3 year old is coming down with a cold? Well, if you are me, you let your 3 year old watch cartoons, throw your baby in the sling, and pull out your scrap stash for a quick crafty pick me up.

This may be the simplest paper technique out there, and there are a million ways to vary it, so I won't even call this a "tutorial". It is more, "the-steps-to-do-what-I-did-this-morning". Enjoy!

First, choose some coordinating patterned papers. The easiest way to do this is to pull out the leftovers from whatever paper project you finished last. Other easy ways? Choose one multicoloured pattern and match other papers to it, or choose patterns that all come from one colour family, say, shades of blue. Don't overthink it; just do it.

Bypass your die cutting machine, your punches, even your stencils, and grab your scissors. Imperfect is the name of the game. With the scraps in a stack, cut out three circles: large, medium and small. You are aiming for a collection of circles like the one below.

Combine the patterns as you see fit to create circles like the ones below. I used four patterned papers, and created circles in three sizes. You can use more or less papers, or make more or less circles as you see fit.

Experiment with different ways of stacking the circles. The patterns will play off of each other, and you will love some combos and hate others. Play until you are happy with them.

Combine with cardstock and some quick pen work, and you're done! Create cards, bookmarks, or accents for scrapbook pages... It is quick, easy, and looks great alone or in repetition. Best of all, they turn out a little differently every time.

Wishing you a good crafternoon!

Sunday, December 12, 2010

Arrr!

It is amazing

what you can do

with some Lego men

two cake mixes,

and a few cans of frosting.

Nik is 3 today!

Wednesday, April 14, 2010

Homeschooling myself

Wikipedia describes Leonardo da Vinci as "a painter, sculptor, architect, musician, scientist, mathematician, engineer, inventor, anatomist, geologist, cartographer, botanist and writer". I have heard it said that he was the last person to really know everything that was known, and that after that, humankind simply had more knowledge than any one person could learn in a lifetime. I wonder if that's true.

I was really lucky to grow up with a good education. I got all the regular preschool to Grade 12 stuff, and then went on to get my university degree. I also took gymnastics, karate, CPR, learned to play the saxophone, got a lead role in a school play and was on class council and student councils. I was a good student, always putting an uncool amount of effort into everything I did.

When Nik was born, a sort of unconscious shift occurred. It isn't that I gave up the uncool amount of effort. That is too deeply ingrained. I just started to direct all that effort toward Project Nik. I was so baby-busy, I felt like I had no time for any of the things I did before he was born. I still made some time for reading and taking classes... But I read parenting books, and took "Mom 'n Me" classes. By the time that Nik was about 6 months old, I was focusing so completely on his development, that it had totally eclipsed my own.

Someone handed me a baby, and I lost my balance. I thought that being a good mom was abandoning myself, and pouring all of myself into my child, and I'm slowly realizing that lack of wisdom in that. If Nik had been my second child, I would not have abandoned the first to take care of him. I would have found a balance between the needs of the two. Why should it be any different if my first "child" is myself? My own growth is still worthwhile.

Additionally, putting all my effort into my child at the expense of myself not only devalues me, it devalues the contributions of all the people who have put effort into me in the past, like my teachers and parents. It also places an insane amount of pressure on my two year old to perform, to "turn out". I am, after all, putting all of my proverbial eggs in one basket.

As part of my parenting reading, I've learned about homeschooling, and felt the attraction. I have also seen that it is not confined to the traditional grades of K to 12. Some people talk about homeschooling their toddlers, for example. One day, I thought: "Is there any reason I couldn't homeschool myself?"

Think about it. Who says education past the age of 18 has to occur within the walls of a college or university? Why couldn't I design my own emergent curriculum, based on my interests, and make it a priority?

I struggle with feeling like the things I do for myself are frivolous, and only deserve to be indulged in when everything else is finished. Thinking about it as homeschooling validates the effort I put into my own development, and encourages me to create a balanced curriculum.

What subjects would you be sure to include? I am thinking of yoga for my first Phys. Ed. unit, creative writing for English, maybe collage for Art... I'd like to learn to get my finances under control for Math, learn the chemistry behind vegetable gardening for Science, and begin to make sense of nutrition as part of Health.

I am not planning on adding cartography or engineering just yet, but even da Vinci had to start somewhere.

Friday, June 12, 2009

Art journalling

Since my son was born nearly 18 months ago, I am afraid that my long time papercrafting passion has gone by the wayside due to lack of time and opportunity to indulge. Oh, I still get my Scrapbook etc. subscription in the mail, and I am keeping all my supplies and continuing to take photos, but I have pretty much stopped shopping, and haven't completed a single layout for months. I kept telling myself the opportunity would arise again, and maybe it still will, but in the meantime my soul was withering away from creativity dehydration.

Enter art journalling.

For Christmas, many members of my family write wish lists, and post them on my brother's web site, to make shopping easier on us all. I didn't have many things on my list this year, which resulted in getting not one, but two, copies of Kelly Rae Roberts "Taking flight", one of the books on my list. A fabulous, inspiring, tall-drink-of-water book, but I still didn't need two. So off to Chapters I went to exchange the second copy for another book of the same type. I looked through all the scrapping and cardmaking books and magazines, feeling sort of ho-hum about them, and then a new type of book caught my eye: Sharon Soneff's "Art Journals & Creative Healing". I knew Sharon Soneff's name from the scrapping world, best for her Sonnet's line of scrap supplies, and so I flipped through the book, deciding almost immediately that it was the book I had been looking for.

Being the research-oriented kook I am, I had to read multiple more books, magazines, and online articles/blogs on art journaling and altered books before I was ready to put pen to paper in my own version, but during a recent holiday I took the plunge, picking up a spiral bound sketch journal, and a giant jar of gesso at Hobby Lobby. My work is simple so far, consisting of drawing and/or painting with a wide variety of mediums (watercolour, pen, coloured pencil, crayon, oil pastel) and handwritten thoughts. I hope to get into more collage techniques in time, and also complete an altered book honouring my love of children's literature, in a old copy of A. A. Milne's "Winnie the Pooh".

In the meanwhile, I am staining my bedsheets with art supplies, working in my journal before bed a few nights a week. It has proved a wonderful tool for combatting overthinking and negative self talk, and I hope create a record of personal growth (a la Sabrina Ward Harrison). The spin off benefit of beginning this new hobby is that, in addition to meeting my needs of getting messy and making things, I feel more in touch with my inner artist than I ever have, and I am having the strangest cravings to read poetry, or spend a day at the art gallery. If only I could afford real art lessons...

Tuesday, November 25, 2008

The beginning of swirls and swings

When deciding to begin a blog, for me the obvious question was, "Why? Why sign up? Why have a blog at all?" When it came time to title my blog, I realized that I needed an answer.

I thought of the reasons why people might write, and tried on some potential names. "My Soapbox"? No, I'm not really here to make speeches. I considered, "Breathings of my heart" (inspired by Wordsworth), but I decided it was too sentimental, and besides, it was already taken.

Then, I found these words by James Michener:

"I love writing. I love the swirl and swing of words as they tangle with human emotions."

That thought resonated with me. I realized that I love using words. That is why it is so hard for me to wait my turn in conversation. That is why my message board posts are twice as long as the average user's. That is why I use phrases like 'canter of speech' and 'bone of contention'.

Words liberate me to say exactly what I am thinking; exactly what I feel. They marry freedom of choice with freedom of expression. When used effectively, words have power to move a reader to tears or action, to change a mind, or change a heart.

So, why start a blog? To play with words. To form them into sentences and paragraphs just to see how they sound together. To express myself; to tell the story of my experience. In short, to write out of the love of the swirl and swing of words.
Related Posts Plugin for WordPress, Blogger...